Three Ways to Elevate Your Pumpkin Carving This Halloween
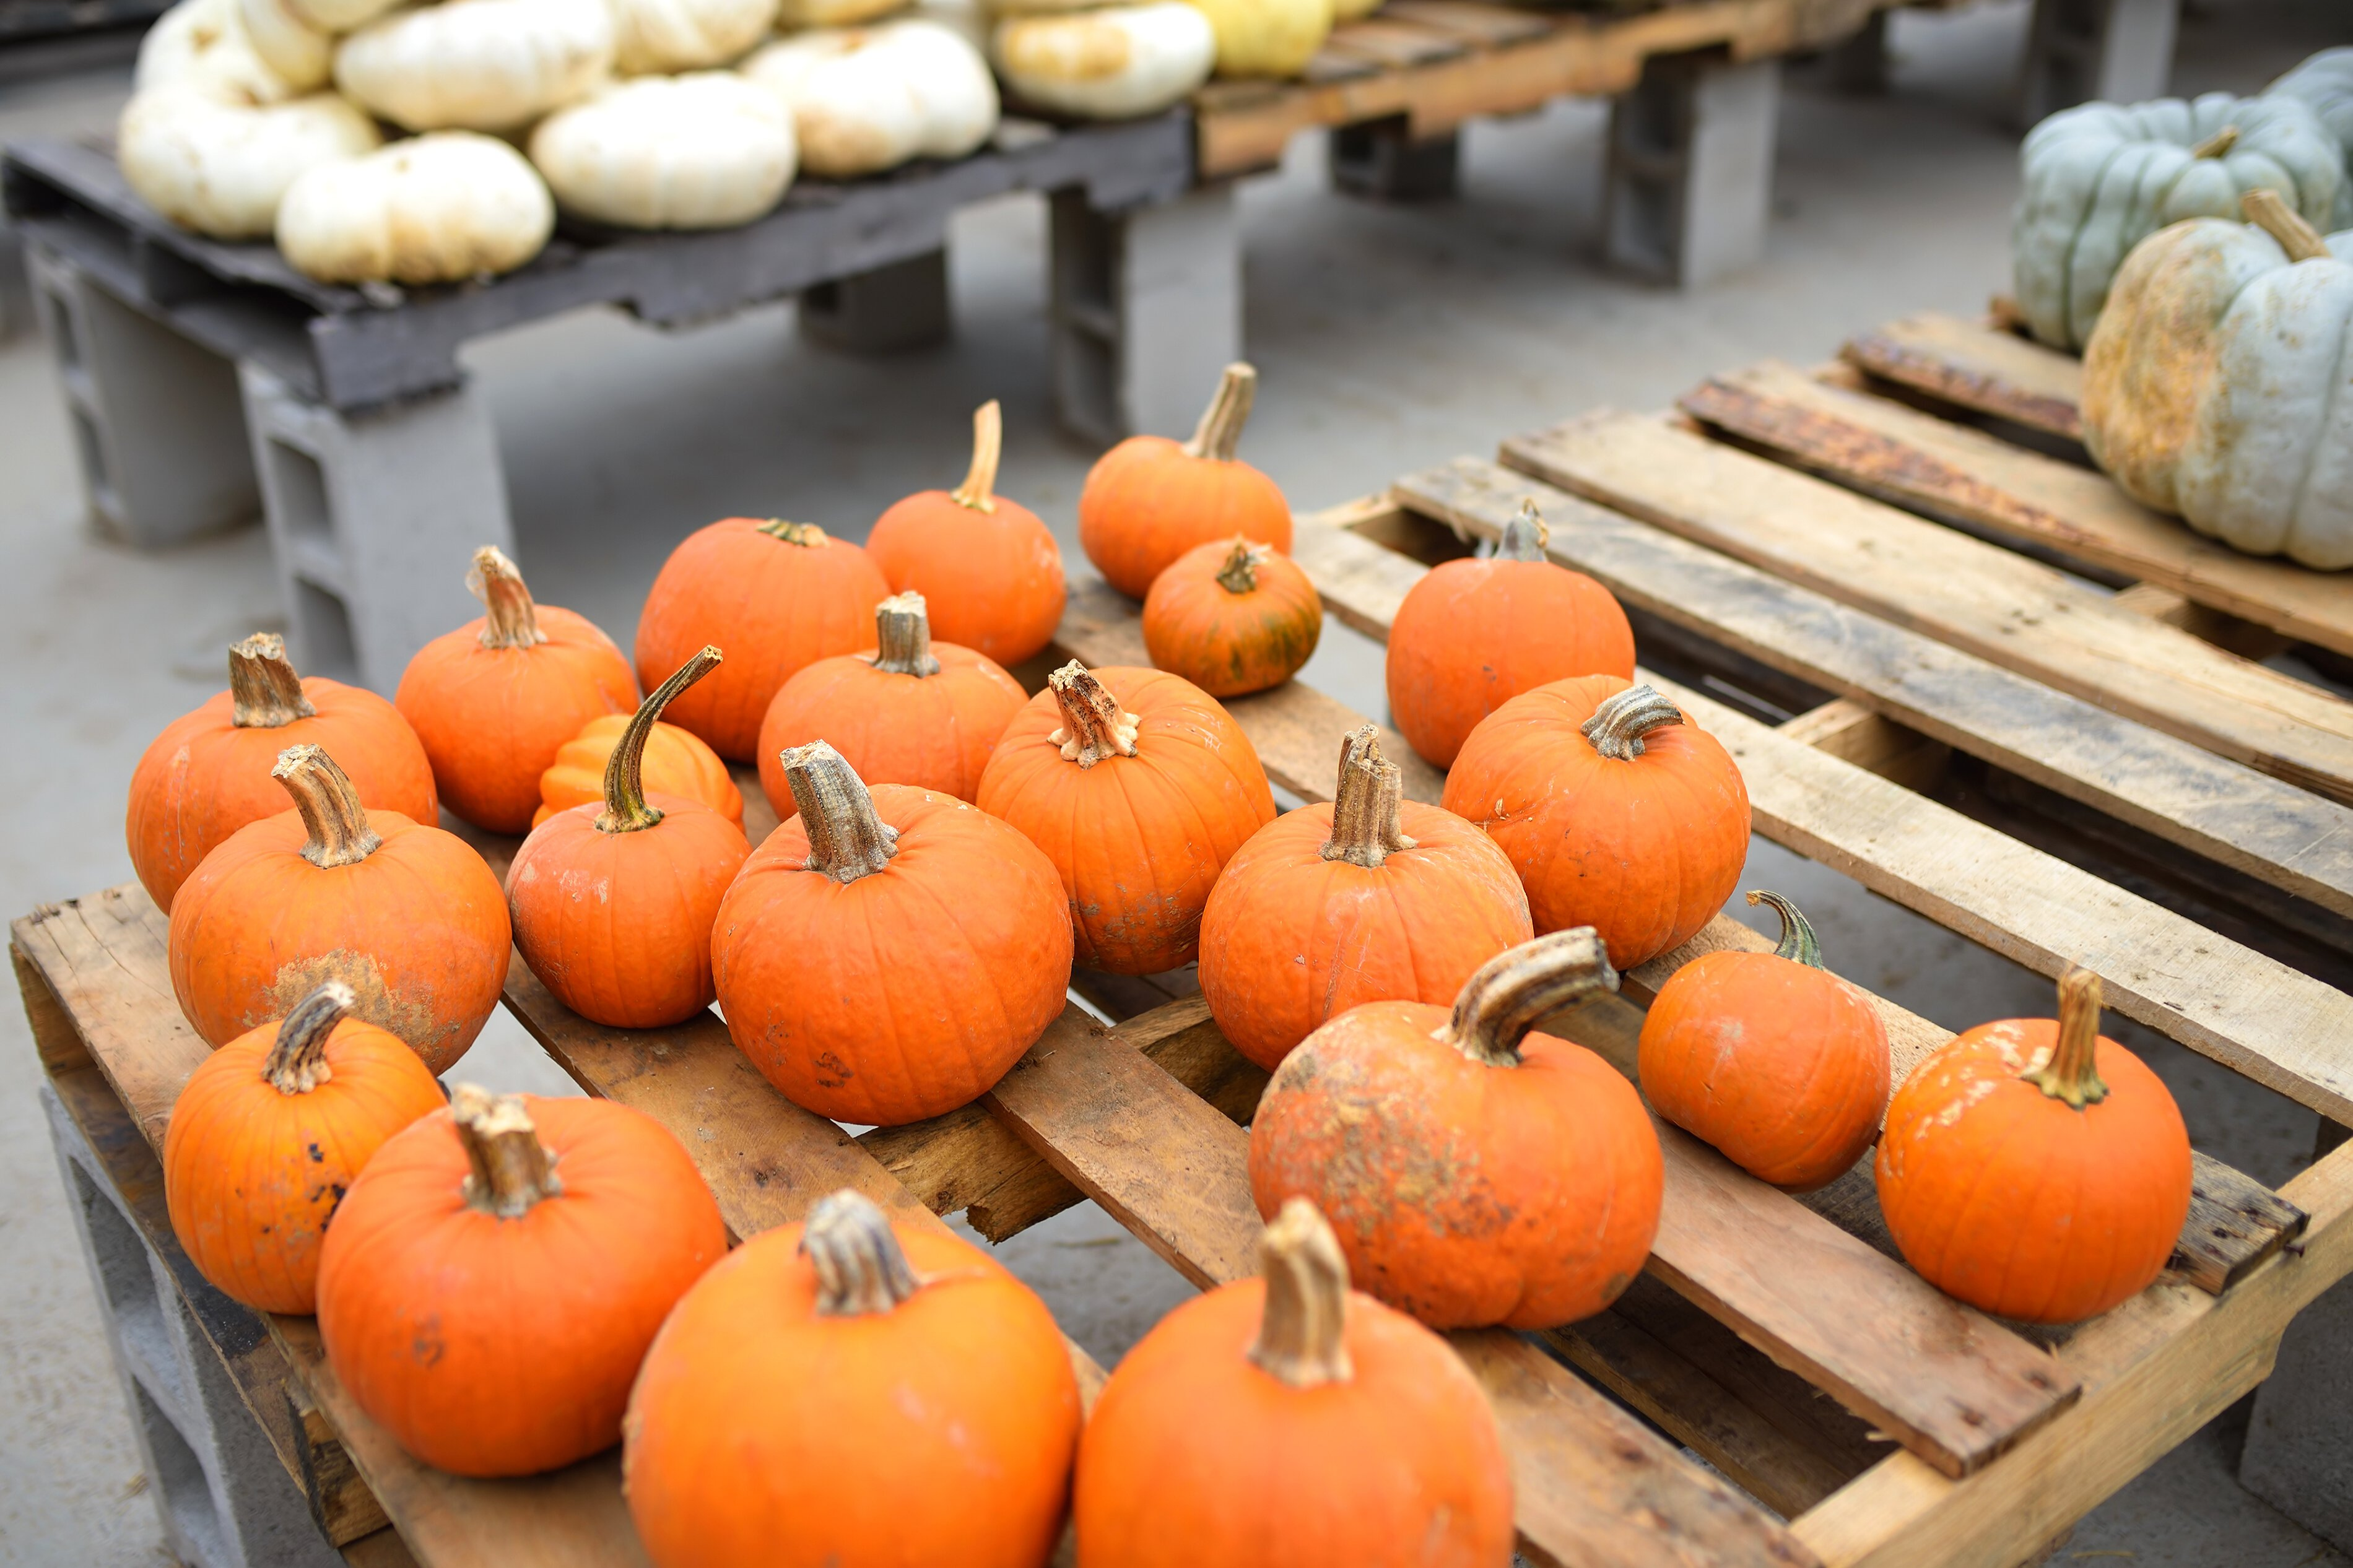
1. Pick the Perfect Pumpkin!

Look for a pumpkin with a deep orange color and knock on it to make sure it is hollow, which means it is ripe. Make sure the bottom of your pumpkin is flat, so it does not roll away!
Also, check to make sure it is not mushy or soft on the bottom. Check the pumpkin's stem to make sure it is firm and secure. Picking it up from the stem may cause it to break and decay faster.
Avoid bruised pumpkins and look for smooth surfaces to make it easier for you to carve!
2. Carve Your Pumpkin Like A Pro!

When carving out the top of the pumpkin, be sure to tip your knife towards the center to create a shelf; otherwise, the top will fall straight into the pumpkin.
But you don’t have to carve out the top! Instead, you can hollow it out from a hole in the back instead of the top; this way, the look of the face isn’t affected. (PSA: Do not use a real candle if you carve using this method!)
Outline your design or face on the surface first. Draw a line down the center to establish symmetry, then sketch the nose at the approximate center of the face.
Do not use a serrated blade! Instead, use a standard steak knife that will not bend. Use two hands at all times, one to control the blade and the other to control the pressure you are cutting with.
3. Preserve Your Pumpkin!
After carving, wipe down the entire pumpkin's surface with a vinegar-water solution, 1 part vinegar to 1 part water; this kills bacteria and fungal spores. You can then spray the pumpkin daily with this solution!
Try placing a packet of silica gel inside the pumpkin to absorb excess moisture.
If your pumpkin is starting to degrade early on, try dumping it in an ice bath. However, you can only do this once! Pumpkins do not respond well to multiple temperature changes.


